2. Apache cordova - plugin 사용( for android )
3. Apache cordova - plugin 개발( for android )
4. Apache cordova - Activity를 포함하는 plugin 개발 ( for android )
개발 환경:
OS: Windows
개발툴: VS Code
support Platform : Androd
지난 글에서 단순한 기능을 포함하는 cordova plugin개발에 대해서 알아봤다.
한가지 더 궁금 했던 부분은 cordova plugin내에 Activity나 string, image 등의 리소스를 포함하여 패키징 할 수 있는냐는 것이다.
cordova plugin으로 어떤 기능까지 제공할 수 있느냐 하는 문제와 크게 다르지 않은 의문이라 조금만 더 파보고자 한다.
이전 글에 이어서 몇가지만 정리 하고 넘어 가자.
cordova plugin은 cordova app과 어느 시점에 어떤 방식으로 병합(?)되는 걸까?
plugin을 추가하면 app 프로젝트에 반영되는 주요 변경 사항을 살펴보자.
기억을 상기 시키기 위해, 이전 글에서 작성한 소스코드 두벌을 다시 소환한다.
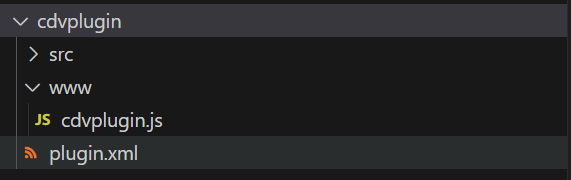
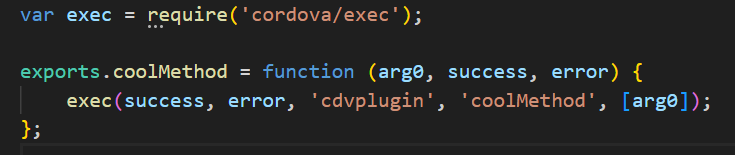
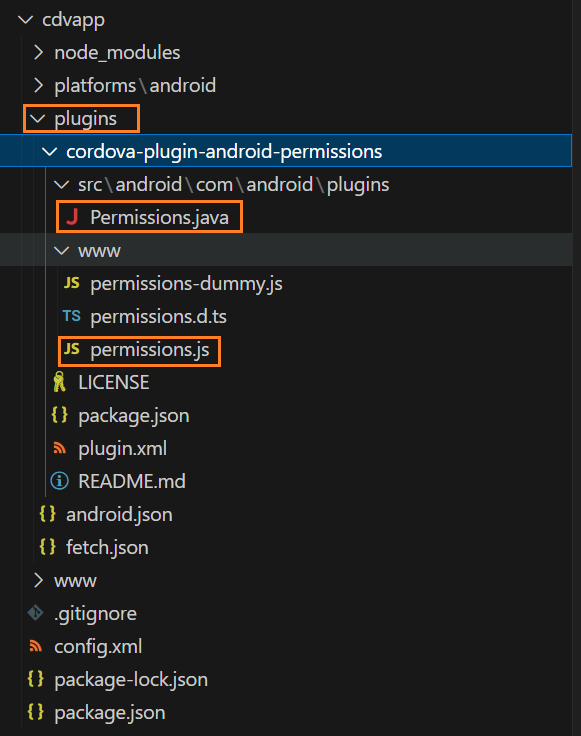
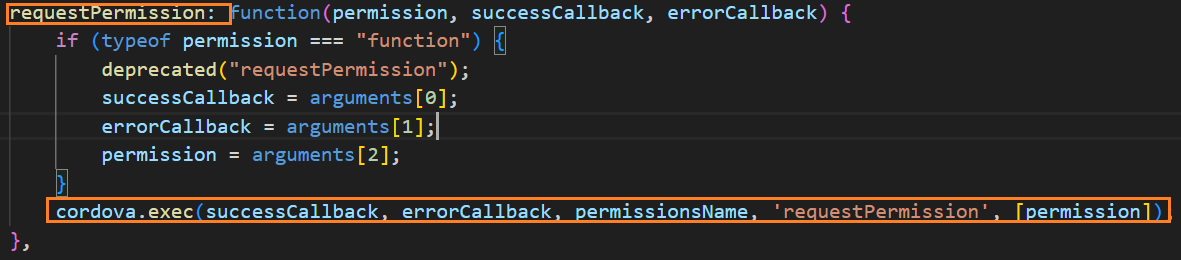
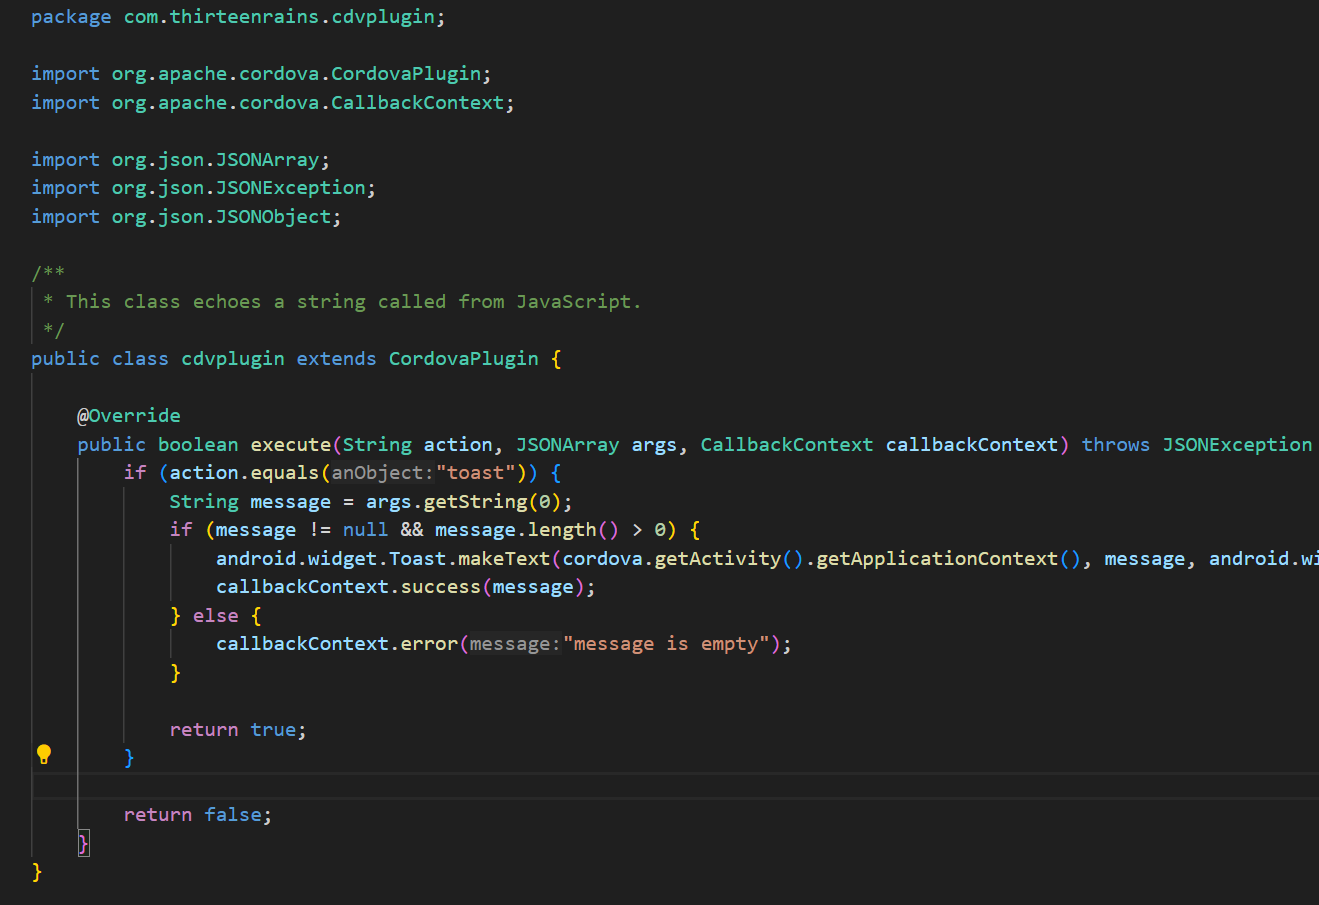
1. cdvplugin.js - 노출 API를 export한 javascript 소스 파일 ( platform 공통 )
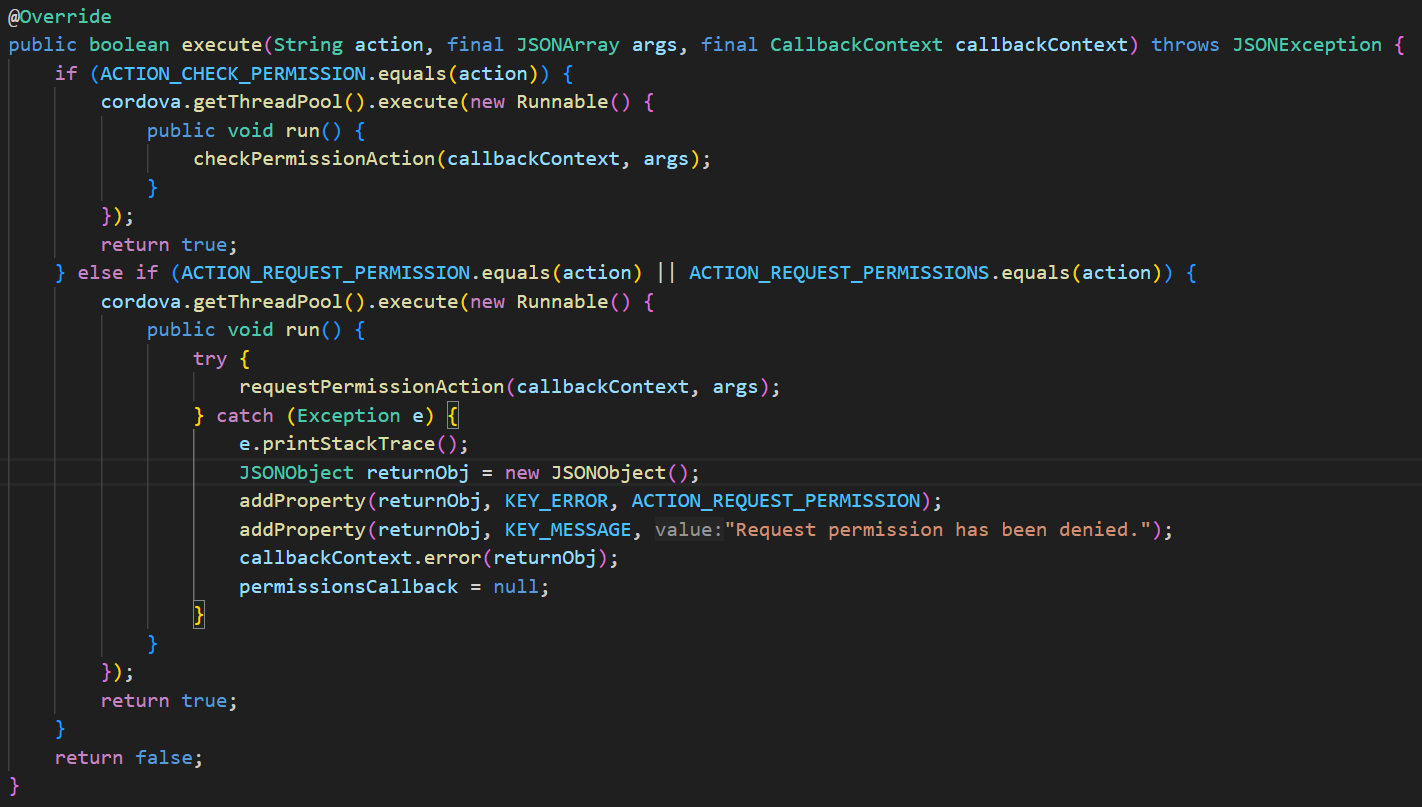
2. cdvplugin.java - 노출된 API를 구현한 Java 소스 파일 ( android platform 종속 )
cordova app 프로젝트 관점
1. package.json 파일에 plugin 설정이 추가 된다.
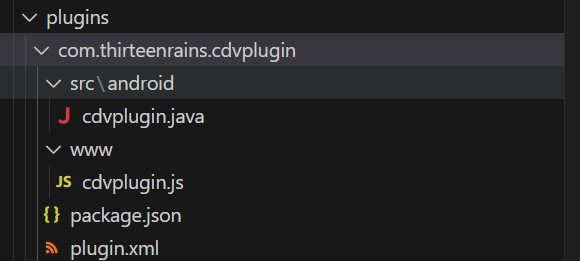
2. plugins 폴더 하위에 plugin source 파일들이 복사된다. cdvplugin.js , cdvplugin.java,, plugin.xml ...
(파일/폴더 구조 및 소스 및 설정 파일까지 통째로 복사됨)
Android app 프로젝트
cordova platform add android커맨드를 통해 생성되는 [platforms/android] 폴더에 생성되는 프로젝트는
Android Studio를 통해 오픈되며 빌드 가능하다. ( gradle 버전이라던가 plugin 버전이라던가 sdk 버전의 missmatch에서 오는 이슈를 해결해야 하는 경우가 많지만 ...)
이 이야기인 즉슨, platforms/android 폴더에는 모든 app 코드와 모듈(플러그인)이 어떤 형태로든 병합(?)되어 빌드가능한 형상으로 존재한다는 뜻이다)
Android project의 구조를 살펴보며, cordova app의 구동구조를 살짝만 엿보도록 하자.
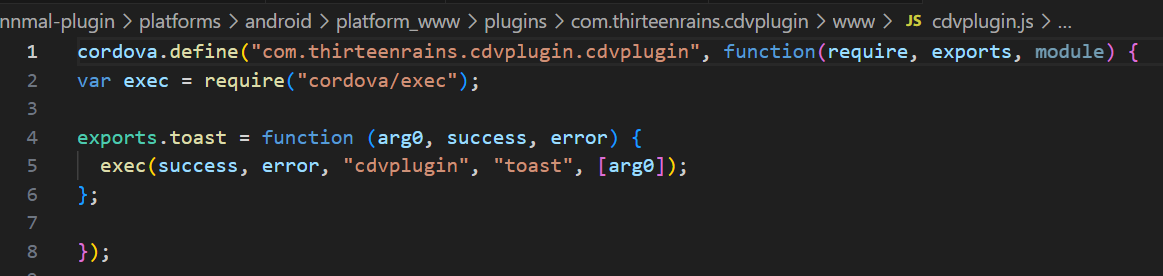
1. Webview에서 구동될 webapp 코드( cdvplugin.js등의 plugin코드 포함)들은 asset 폴더에 추가되고
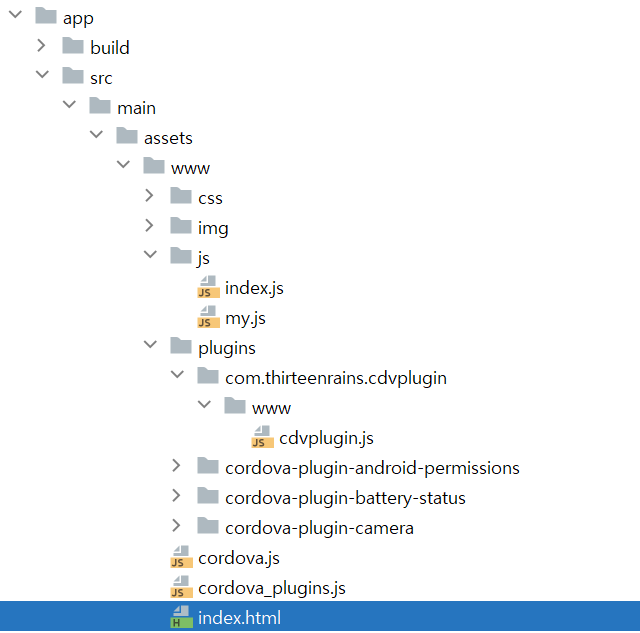
2. MainActivity에 의해 로드된다.
(아래 그림을 보면 cordova plugin 소스 파일인 cdvplugin.java 또한 프로젝트에 포함되어 있는 것을 확인 할 수 있다.

MainActivity.java
asset에 포함된 webapp의 코드를 webview에 로드할 것으로 추측
package com.thirteenrains.cdvapp;

import android.os.Bundle;

import org.apache.cordova.*;

public class MainActivity extends CordovaActivity
{
    @Override
    public void onCreate(Bundle savedInstanceState)
    {
        super.onCreate(savedInstanceState);

        // enable Cordova apps to be started in the background
        Bundle extras = getIntent().getExtras();
        if (extras != null && extras.getBoolean("cdvStartInBackground", false)) {
            moveTaskToBack(true);
        }

        // Set by <content src="index.html" /> in config.xml
        loadUrl(launchUrl);
    }
}
자, 여기까지 살펴보면 cordova app과 plugin이 어떻게 android project에 병합(?) 되는지 감이 오지 싶다.
다시 처음의 주제로 돌아와서 ....
cordova plugin의 소스를 대상 플랫폼의 빌드 구성안에 우겨 넣는 형태로 연동하는 것으로 보이는데
Custom Activity나 Resource를 plugin에 추가해서 배포하려면 어떻게 해야 할까?
하나의 방법을 제시하자면,
Androdi Library(AAR)에 리소스를 포함하고, 해당 aar을 plugin에서 참조하는 방법으로 구현이 가능하다.
(다른 방법이 추가로 존재할 수도 있지만 굳이 찾지 않는다.)
AAR 프로젝트
Simple한 Activity를 하나 포함한 AAR 라이브러리를 작성한다.
AndroidManifest.xml
<?xml version="1.0" encoding="utf-8"?>
<manifest xmlns:android="http://schemas.android.com/apk/res/android"
    xmlns:tools="http://schemas.android.com/tools"
    package="com.thirteenrains.nativelib">

    <application
        android:allowBackup="true"
        android:dataExtractionRules="@xml/data_extraction_rules"
        android:fullBackupContent="@xml/backup_rules"
        android:supportsRtl="true"
        android:theme="@style/Theme.Nativelib"
        tools:targetApi="31">
        <activity
            android:name=".SimpleActivity"
            android:exported="true">
        </activity>
    </application>

</manifest>
SimpleActivity.ava
package com.thirteenrains.nativelib

import androidx.appcompat.app.AppCompatActivity
import android.os.Bundle

class SimpleActivity : AppCompatActivity() {
    override fun onCreate(savedInstanceState: Bundle?) {
        super.onCreate(savedInstanceState)
        setContentView(R.layout.activity_simple)
    }
}
activity_simple.xml
<?xml version="1.0" encoding="utf-8"?>
<androidx.constraintlayout.widget.ConstraintLayout xmlns:android="http://schemas.android.com/apk/res/android"
    xmlns:app="http://schemas.android.com/apk/res-auto"
    xmlns:tools="http://schemas.android.com/tools"
    android:layout_width="match_parent"
    android:layout_height="match_parent"
    tools:context=".SimpleActivity">

    <TextView
        android:layout_width="wrap_content"
        android:layout_height="wrap_content"
        android:text="Hello World!"
        app:layout_constraintBottom_toBottomOf="parent"
        app:layout_constraintEnd_toEndOf="parent"
        app:layout_constraintStart_toStartOf="parent"
        app:layout_constraintTop_toTopOf="parent" />

</androidx.constraintlayout.widget.ConstraintLayout>
build..gradle
plugins {
    id 'com.android.library'
    id 'org.jetbrains.kotlin.android'
}

android {
    compileSdk 30

    defaultConfig {
        minSdk 23
        targetSdk 30
        versionCode 1
        versionName "1.0"

        testInstrumentationRunner "androidx.test.runner.AndroidJUnitRunner"
    }

    buildTypes {
        release {
            minifyEnabled false
            proguardFiles getDefaultProguardFile('proguard-android-optimize.txt'), 'proguard-rules.pro'
        }
    }
    compileOptions {
        sourceCompatibility JavaVersion.VERSION_1_8
        targetCompatibility JavaVersion.VERSION_1_8
    }
    kotlinOptions {
        jvmTarget = '1.8'
    }
}

dependencies {

    implementation 'androidx.core:core-ktx:1.7.0'
    implementation 'androidx.appcompat:appcompat:1.3.0'
    implementation 'com.google.android.material:material:1.3.0'
    implementation 'androidx.constraintlayout:constraintlayout:2.0.4'
    testImplementation 'junit:junit:4.13.2'
    androidTestImplementation 'androidx.test.ext:junit:1.1.5'
    androidTestImplementation 'androidx.test.espresso:espresso-core:3.5.1'
}
cordova plugin 프로젝트
1. cdvplgin/src/android 폴더에
1) nativelib.aar 복사
2) cdvplugin.gradle 파일 생성
repositories{
  jcenter()
  flatDir {
      dirs 'src/main/libs'
   }
}

dependencies {
  // nativelib.aar dependency추가
  implementation 'com.thirteenrains.nativelib:nativelib@aar'
  // 필요에 따라 추가 dependency를 추가 할 수 있다.
  implementation 'com.google.android.material:material:1.4.0'
}

android {
  packagingOptions {
    exclude 'META-INF/NOTICE'
    exclude 'META-INF/LICENSE'
  }
}
2. cdvplugin/plugin.xml
- gradle 레퍼런스, aar 라이브러리 복사 설정
<?xml version='1.0' encoding='utf-8'?>
<plugin id="com.thirteenrains.cdvplugin"
    version="0.0.1"
    xmlns="http://apache.org/cordova/ns/plugins/1.0"
    xmlns:android="http://schemas.android.com/apk/res/android">
    ...
    <platform name="android">
        ...
        <!-- gradle 설정 -->
        <framework src="src/android/cdvplugin.gradle" custom="true" type="gradleReference" />
        <!-- resource(aar파일) 복사 설정 -->
        <!-- src: plugin폴더 내의 경로, tartget: app 프로젝트 내의 경로 -->
        <resource-file src="src/android/nativelib.aar" target="libs/nativelib.aar" />
        ...
    </platform>
</plugin>
cordova app 프로젝트
index.html
<div>
        <p>
          <button id="btnShowActivity">show activity</button>
        </p>
      </div>
my.js
document.getElementById("btnShowActivity").addEventListener("click", toast);
function toast() {
var cdvplugin = cordova.plugins.cdvplugin;
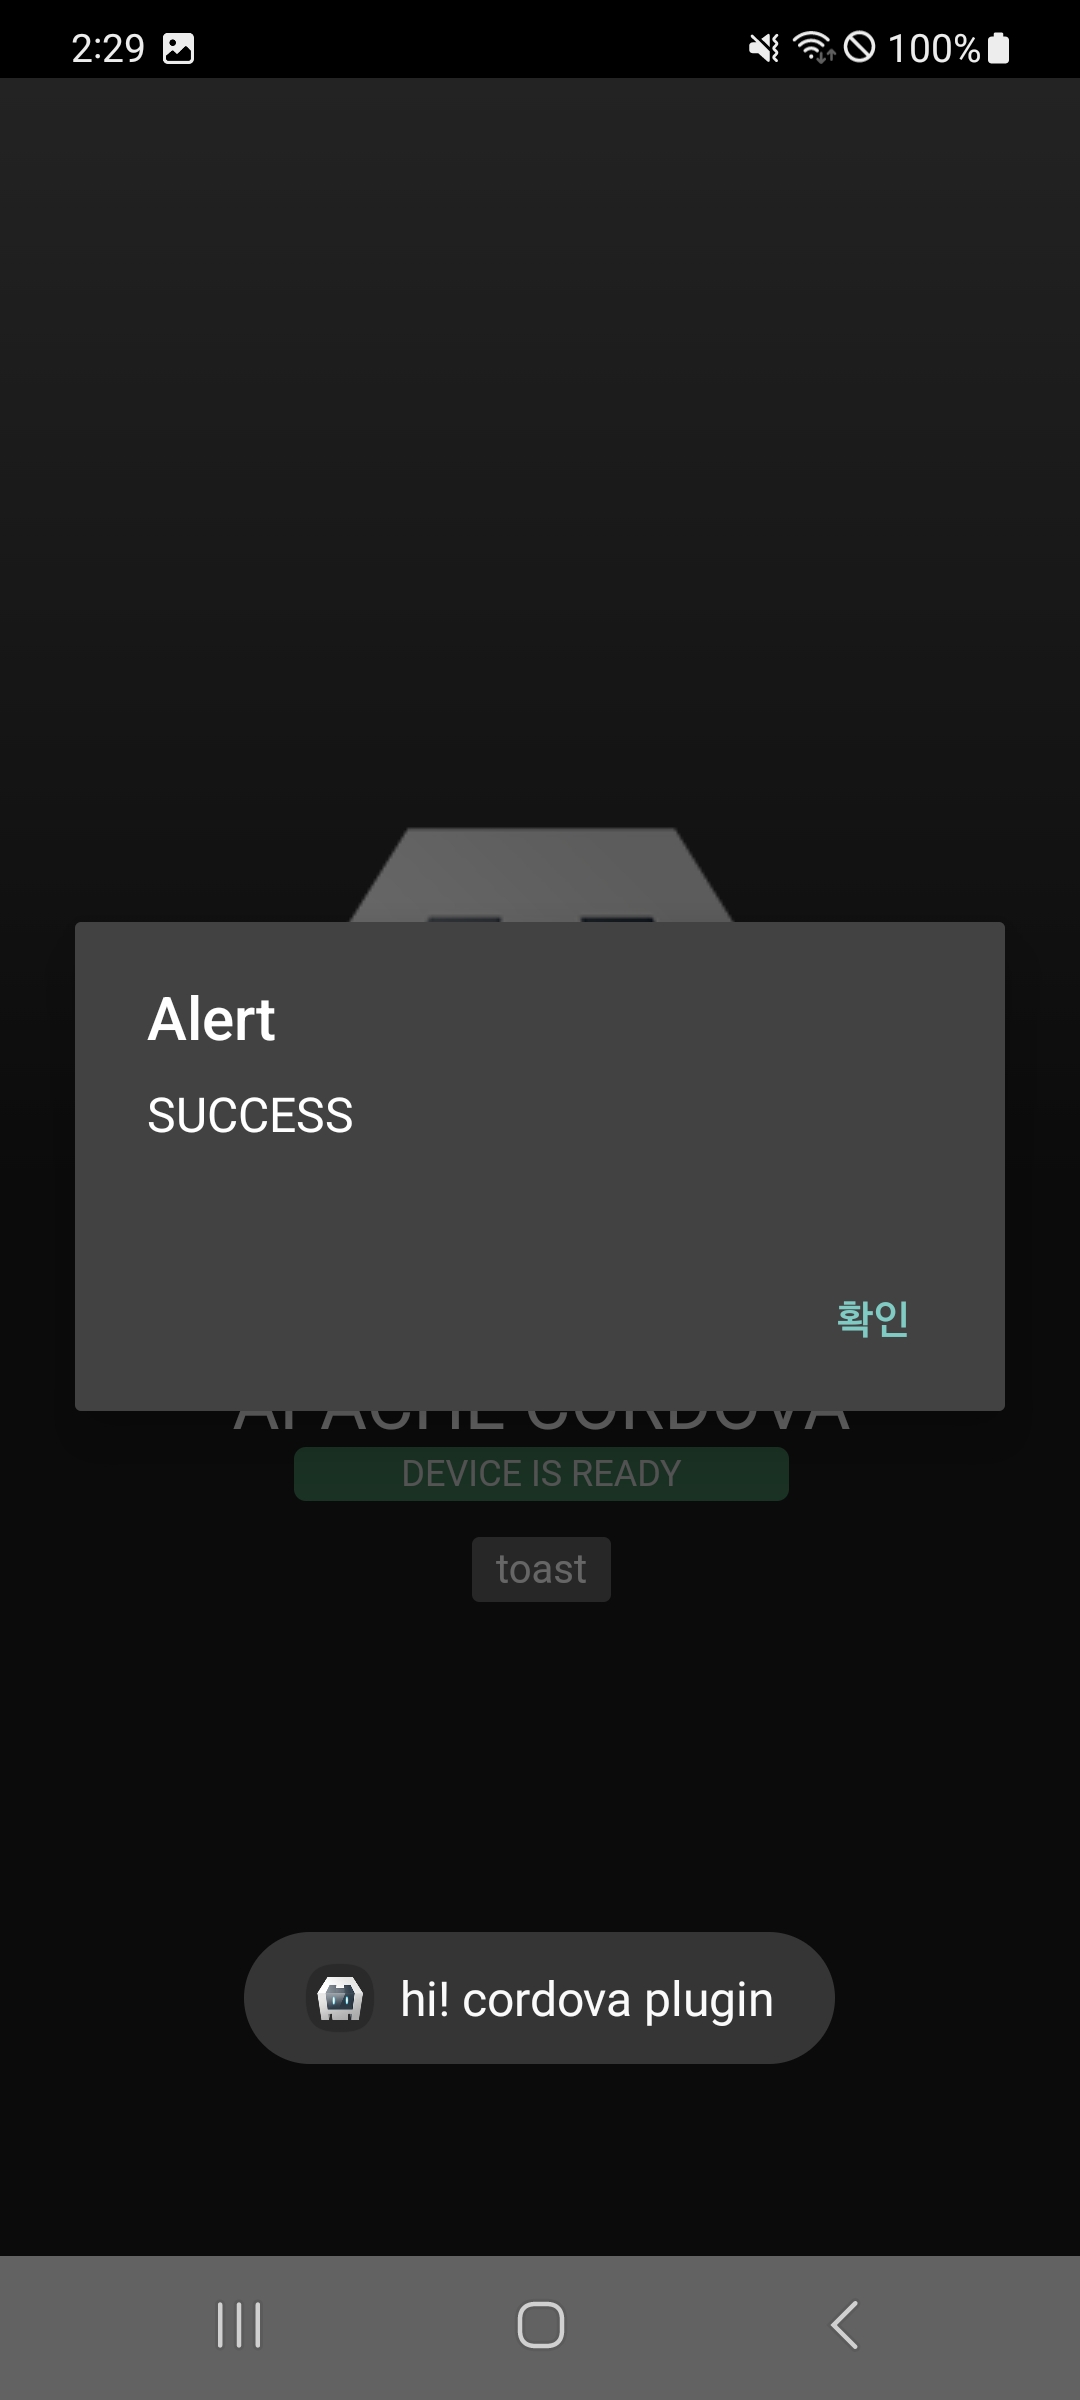
cdvplugin.showAct("hi! cordova plugin", onSuccess, onError);
}
function onSuccess(status) {
alert("onSuccess : " + status);
}
function onError(error) {
alert("onError : " + error);
}
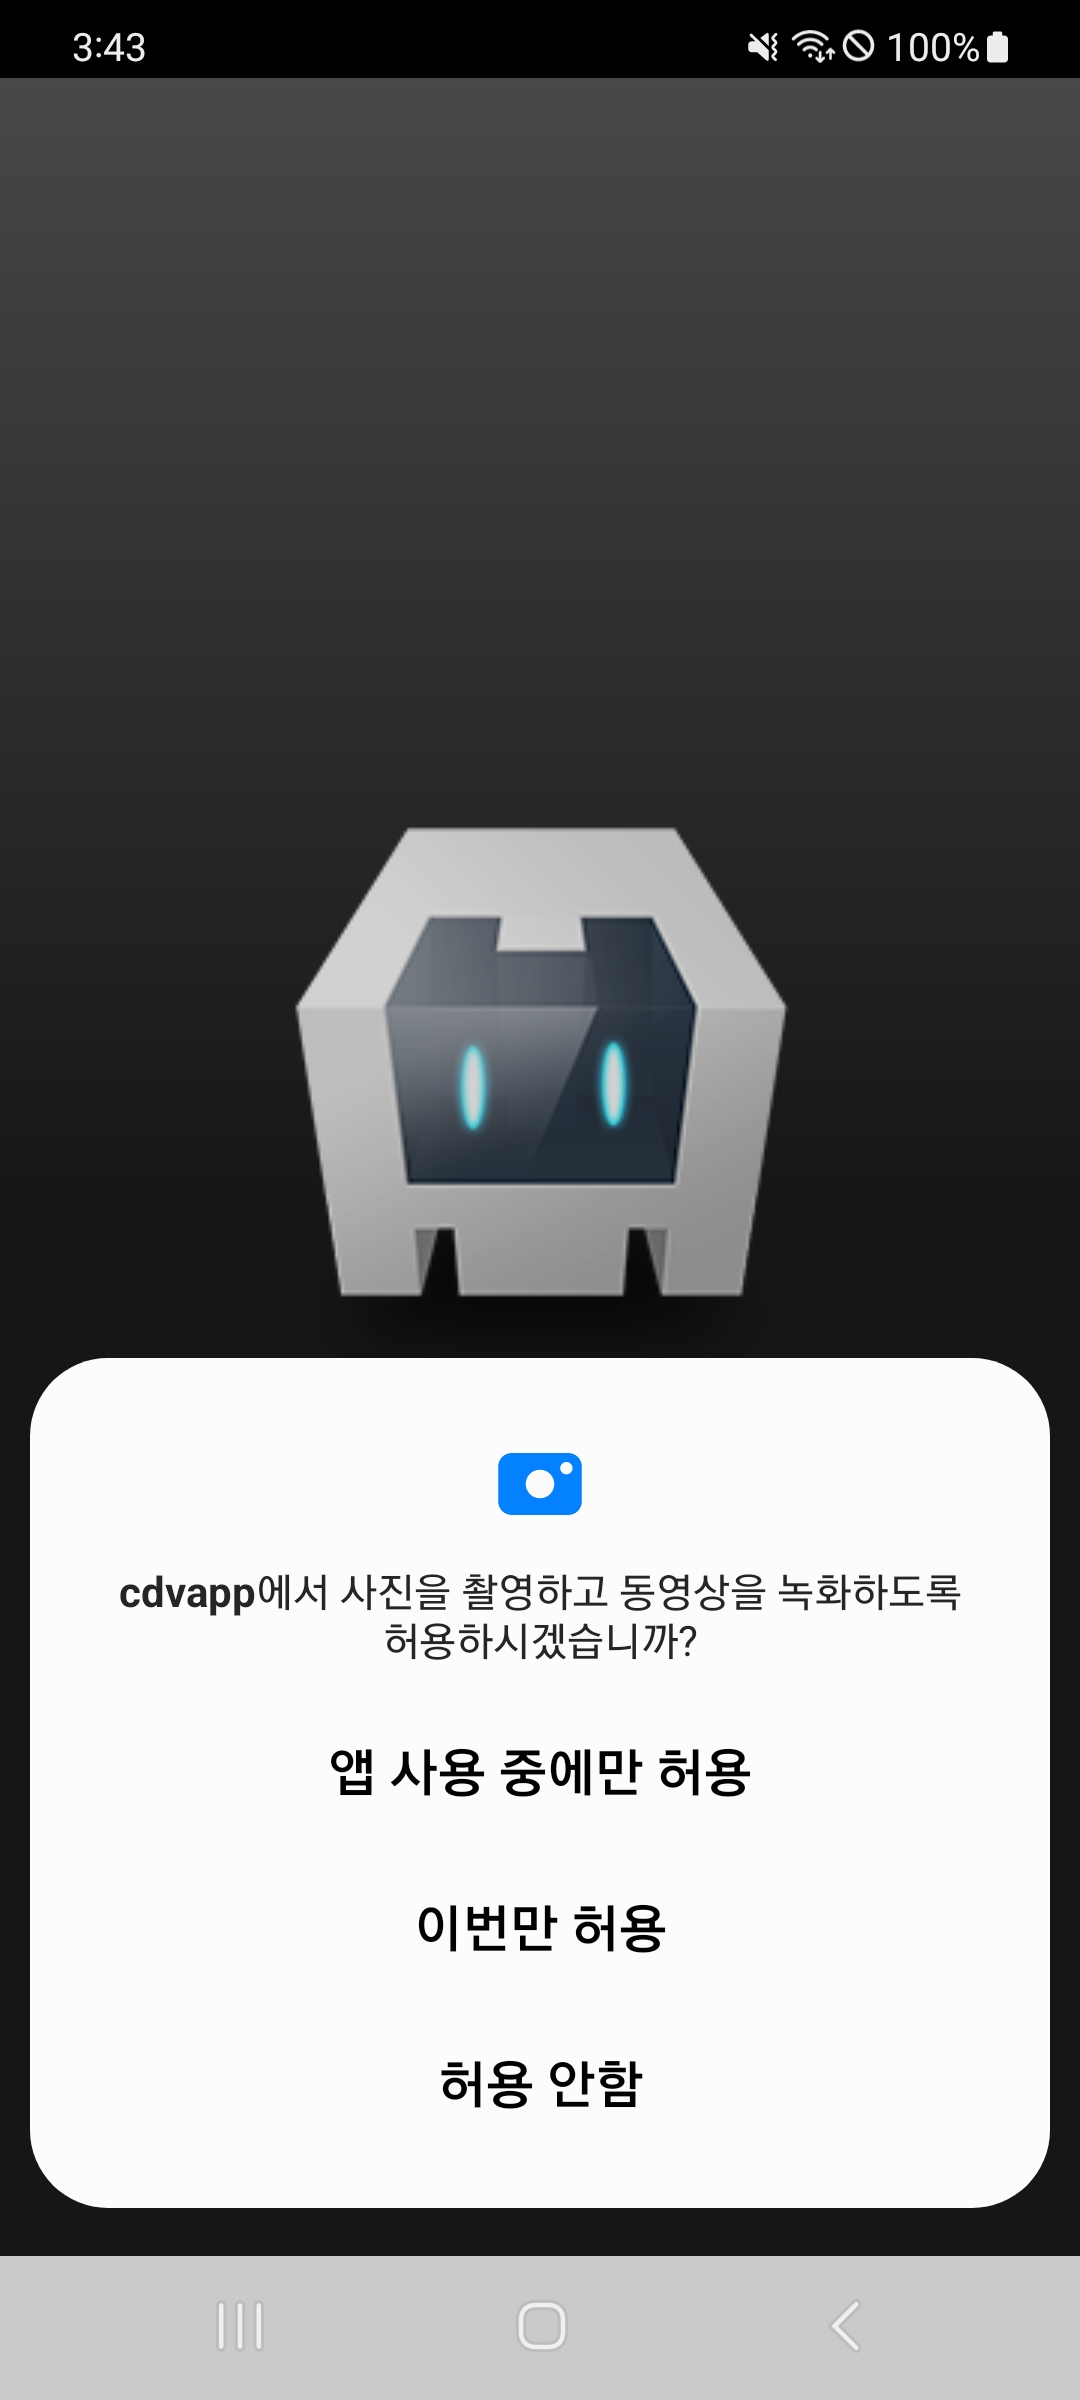
실행
cordova run android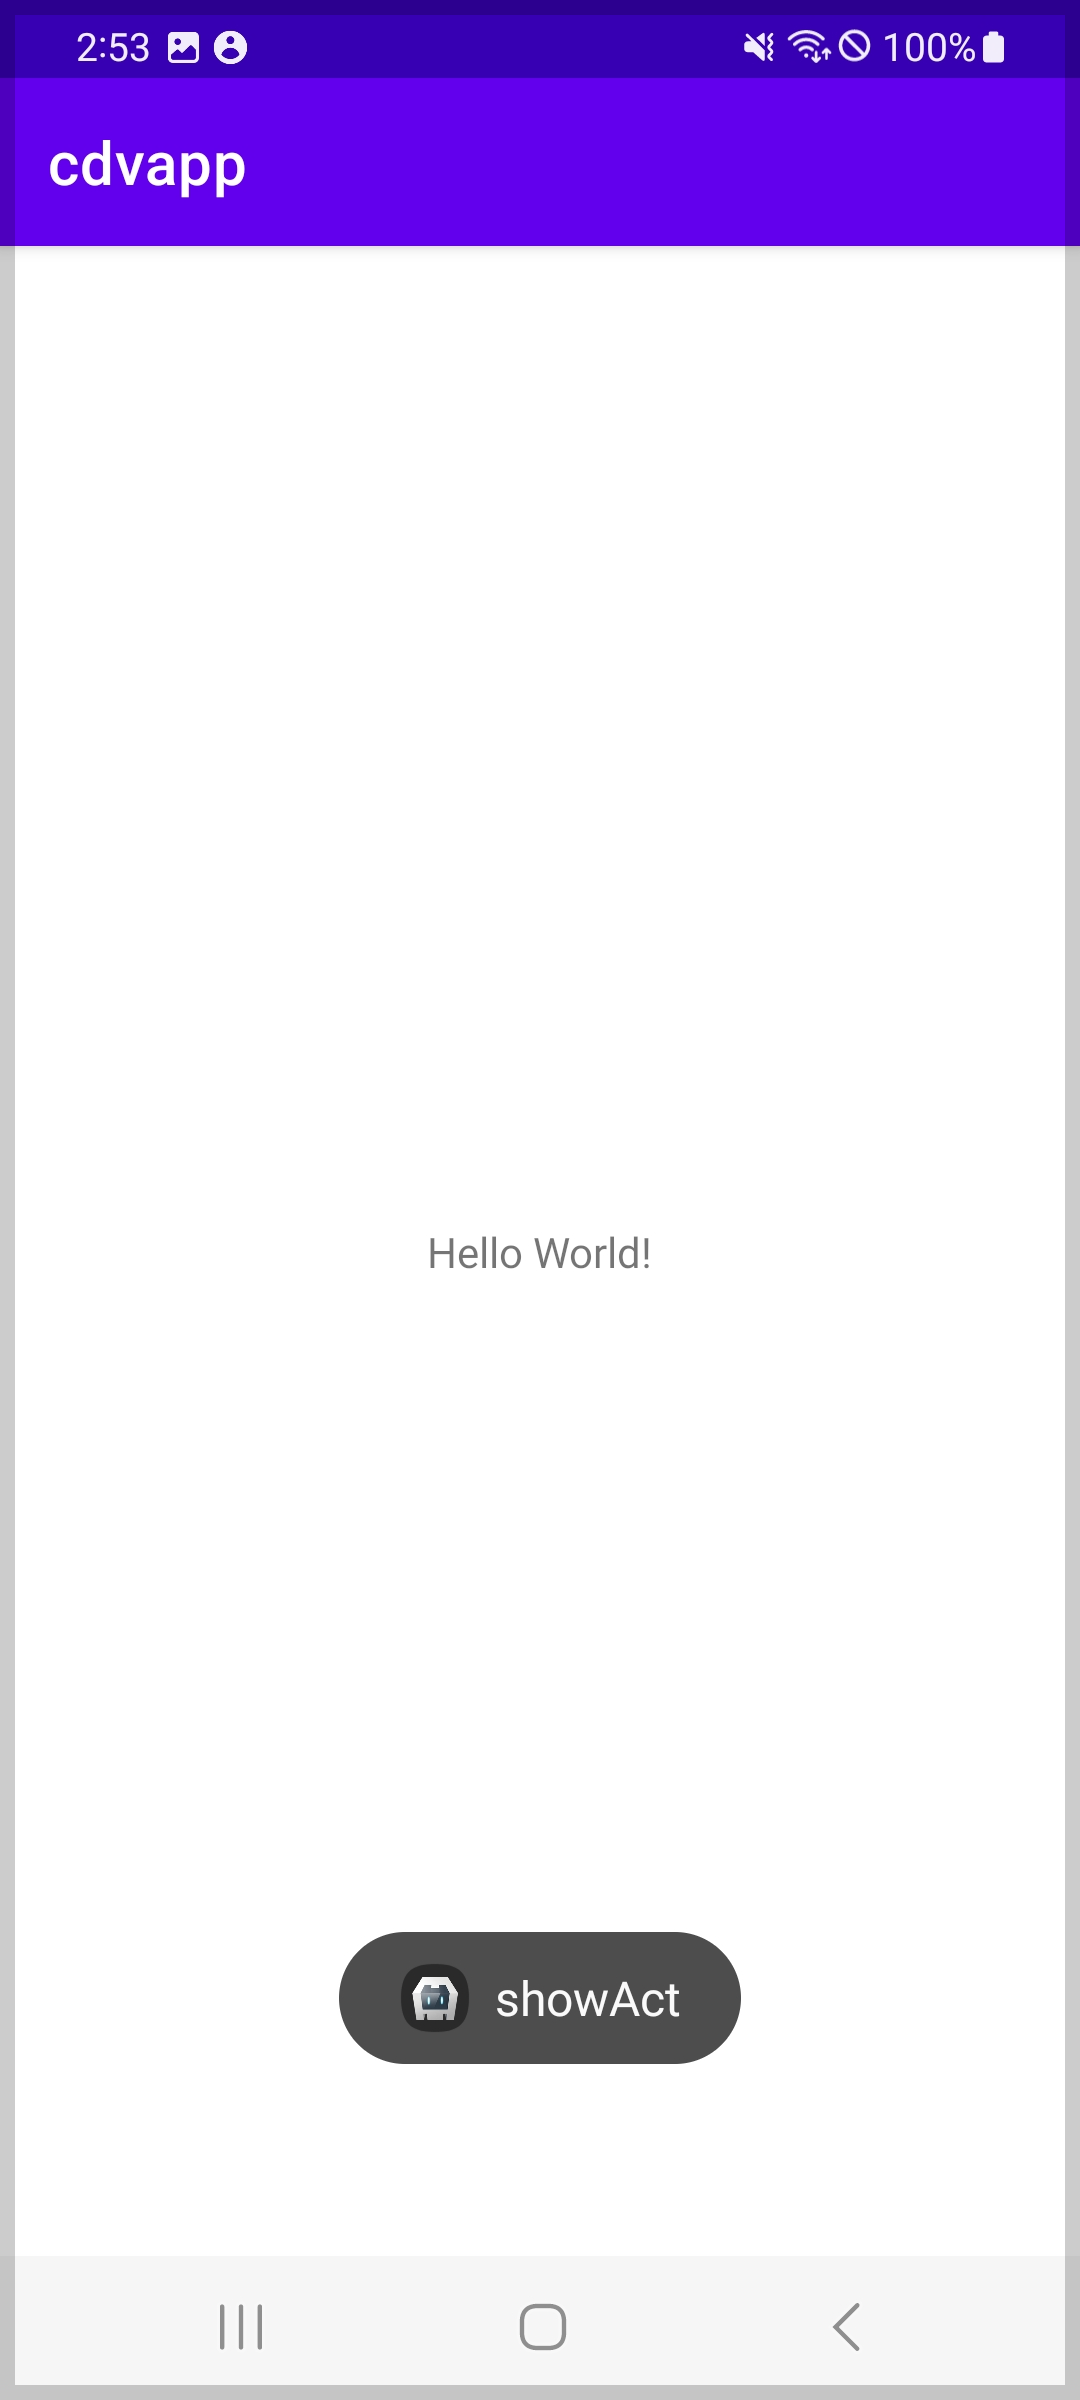
- 끝 -