VMware를 이용한 원격 디버깅 설정
1. VMware시리얼 포트 추가
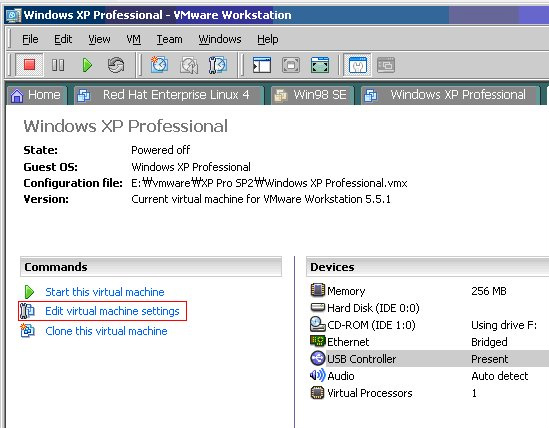
(1) VMware의 [Edit virtual machine settings] 클릭합니다.
(2) [Add...] 버튼을 클릭합니다.

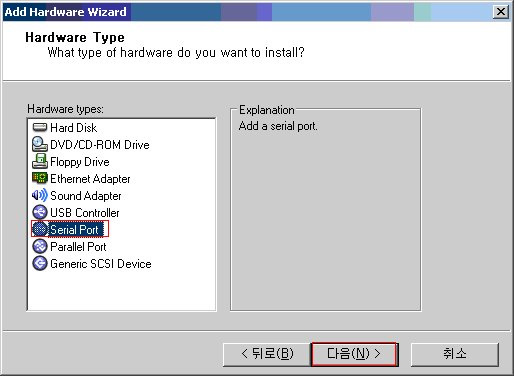
(3) [Serial Port] 선택 후 계속진행합니다.
(4) [Output to named pipe] 선택 후 계속진행합니다.

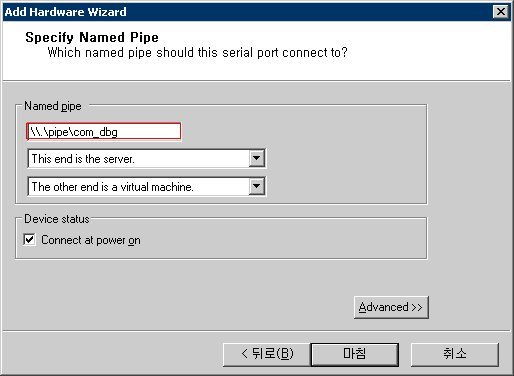
(5) Named pipe 이름을 설정합니다.
1) Named pipe 이름 형식은 \\.\pipe\임의지정 형태입니다.
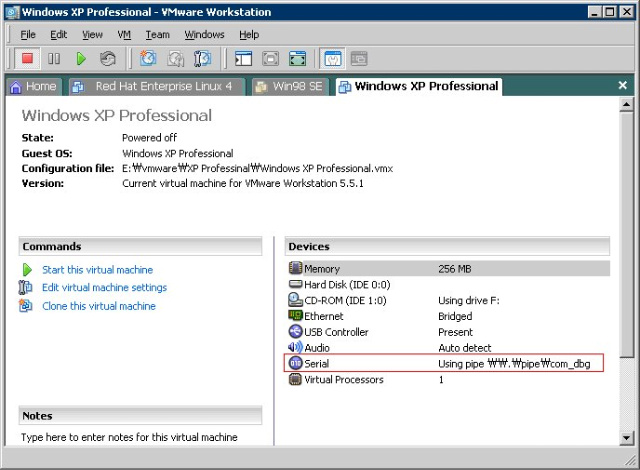
(6) Serial 포트가 추가되었습니다
2. Debugee( VMware내의 OS ) 설정
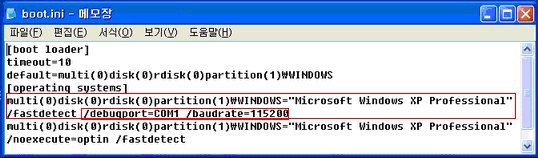
(1) C드라이브의 boot.ini 파일에 다음 내용을 추가합니다.
아래의 내용은 디버깅 모드와 일반모드의 멀티 부팅을 지원합니다.
|
[boot loader] timeout=10 default=multi(0)disk(0)rdisk(0)partition(1)\WINDOWS [operating systems] multi(0)disk(0)rdisk(0)partition(1)\WINDOWS="Microsoft Windows XP Professional" /fastdetect /debugport=COM1 /baudrate=115200 multi(0)disk(0)rdisk(0)partition(1)\WINDOWS="Microsoft Windows XP Professional" /noexecute=optin /fastdetect |
(2) 실제 적용한 내용은 아래와 같습니다.
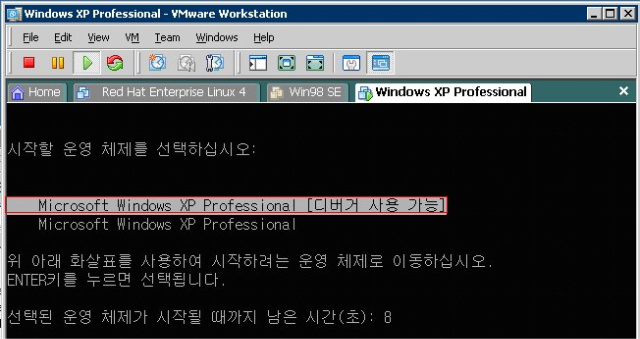
(3) VMware내의 OS를 부팅하면 아래와 같이 표시됩니다.
[디버거 사용 가능]을 선택하여 부팅하면 디버깅이 가능합니다
디버깅 설정을 위해, bcdedit.exe 유틸리티를 사용해야 합니다.
Command 창에서 다음과 같이 입력합니다.
1) Serial 포트를 이용하는 경우
c:\> bcdedit /debug on
c:\> bcdedit /dbgsettings serial debugport:1 baudrate:115200
2) IEEE 1394를 이용하는 경우
c:\> bcdedit /dbgsettings 1394 channel:23
3. WinDBG 설정
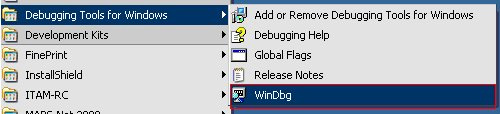
(1) WinDBG 바로가기 파일을 원하는 위치에 복사합니다.
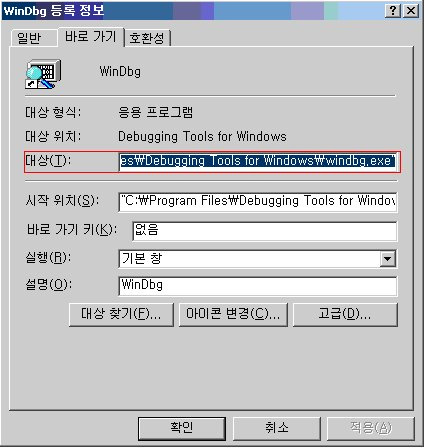
(2) 복사된 바로가기 파일을 오른쪽 마우스 클릭한 후 [속성]메뉴를 선택합니다
(3) [대상] 항목을 다음과 같이 설정합니다.
|
"C:\Program Files\Debugging Tools for Windows\windbg.exe" -k com:port=\\.\pipe\com_dbg,baud=115200,pipe,reconnect |
1) 빨간색으로 표시된 com_dbg 부분은 1.(5)에서 설정한 이름을 적어 줍니다.
4. 디버기(Debugee)와의 연결
(1) 3.에서 설정한 바로가기를 실행합니다.
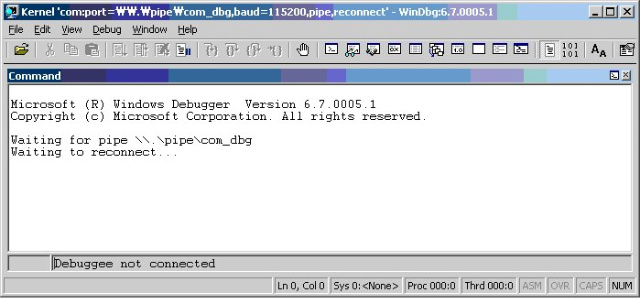
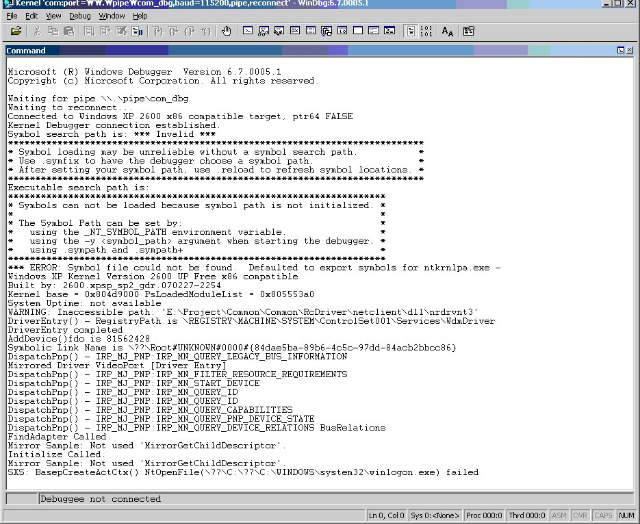
(2) VMware내의 OS를 구동하면 OS가 부팅되면 다음과 같이 WinDBG와 연결됩니다.
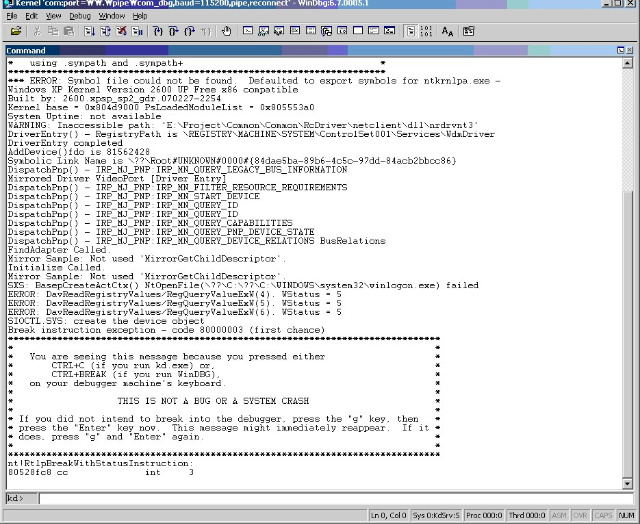
(3) Ctrl+Break를 누르면 다음과 같이 디버깅 모드로 전환 됩니다.
5. OS 심볼 설정
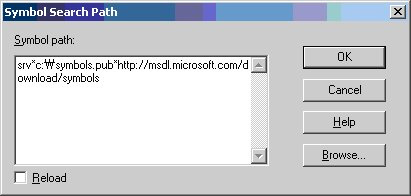
(1) WinDBG의 [File>Symbol File Path]메뉴를 선택합니다.
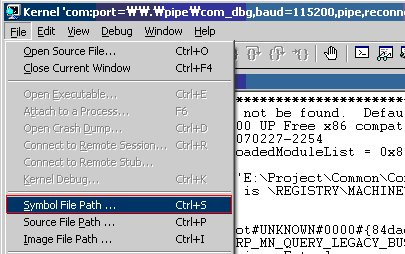
(2) 다음과 같이 심볼파일 경로를 설정하면 OS의 심볼을 로드할 수 있습니다.
|
srv*c:\symbols.pub*http://msdl.microsoft.com/download/symbols; |
'Windows Programming > 디버깅' 카테고리의 다른 글
| 어셈코드 분석 (0) | 2009.07.22 |
|---|---|
| WinDbg Vista에서 디버그 프린트 출력하기 (0) | 2009.04.10 |
| 디버깅시 Local 변수값이 표시되지 않는 경우 (0) | 2008.07.17 |
| Debug-Mode : 메모리의 의미 (0) | 2008.03.31 |
| Watch윈도우 활용( Formatting Symbol ) (2) | 2008.03.25 |